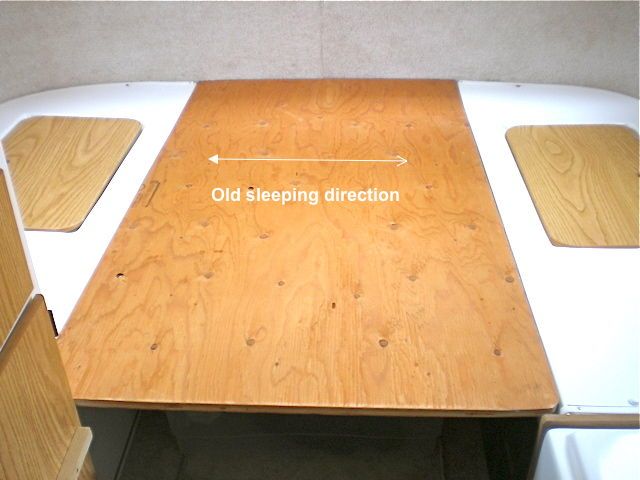
The first thing we did was
to remove the divider partition between the dinette and
the sleeping area. It is not a structurally required
component and can be taken out. What you do lose is the
back rest when you sit at the small dinette table.
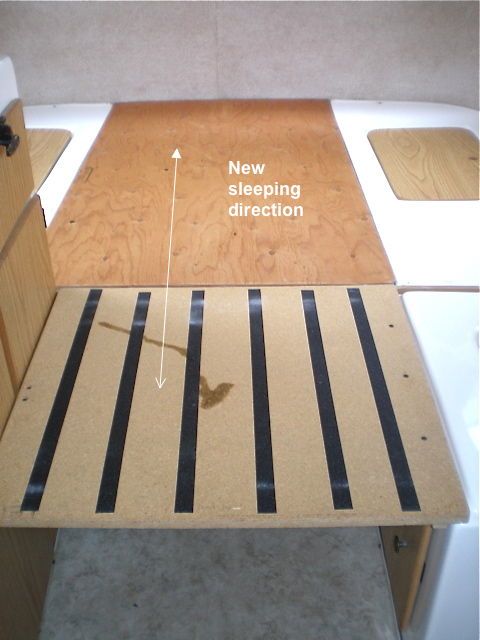
Then we cut a 3/4" piece of plywood to take the place of the table top and act as base for the mattress. Not visible in this photo is the section of 2 x 4 which is wedged upright in the front center of the plywood to support the weight when someone sits on the edge of the bed.
The cave-like area under the plywood is our clothing bin storage with enough space left for a couple pairs of shoes.
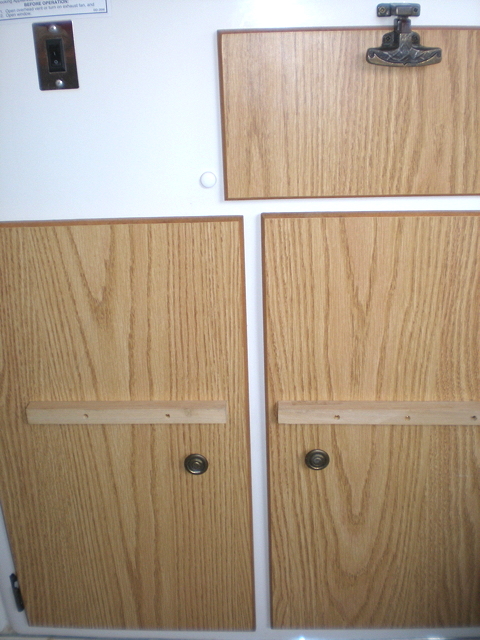
Next, we cut cleats using 1
x 1 pieces of wood. These are screwed to the kitchen
cabinet doors and act as one ledge for the bed extension
board.
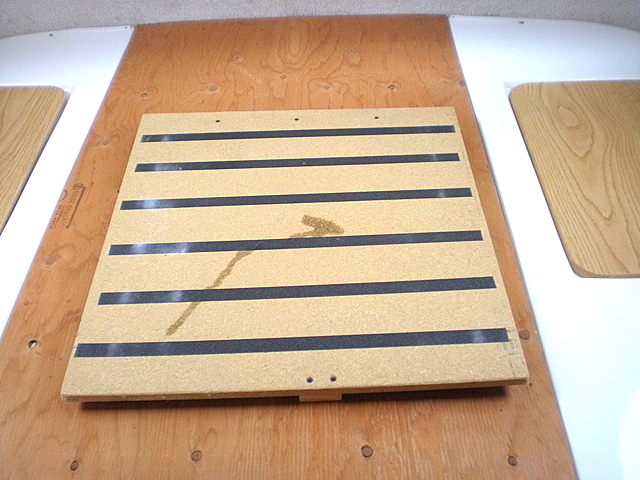
This is the extension made
of particle board. Anti-skid strips were glued to them to
hold the mattress piece in place and keep it from sliding.
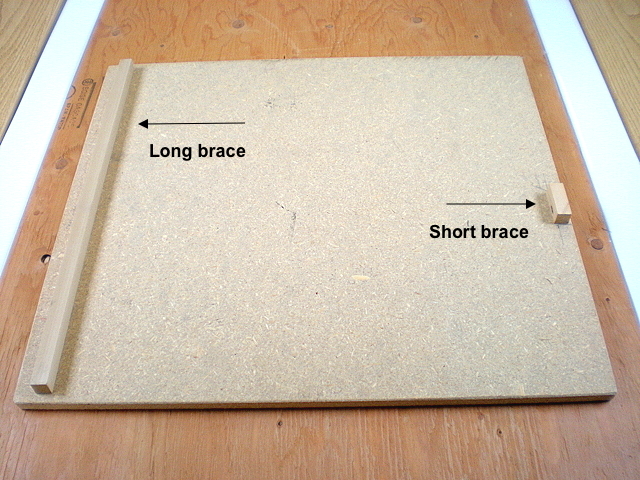
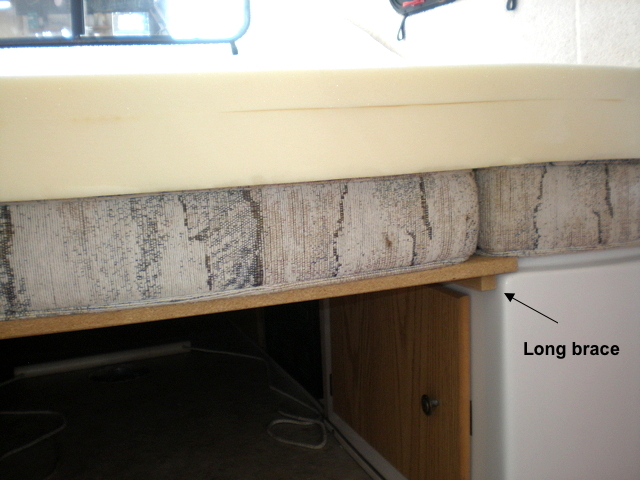
On back of the extension
board we attached a long cleat and a short cleat. The
board itself rests on the lip of the dinette bench seat
and the long brace pushes against the bench. The short
cleat fits precisely into the space between the two pieces
of wood on the cabinet doors. The extension is essentially
locked into place.
This is how it looks when
the extension is set in place.
When we go to bed we move
the 2 x 4 section forward and under the extension board to
support the weight of someone sitting there.
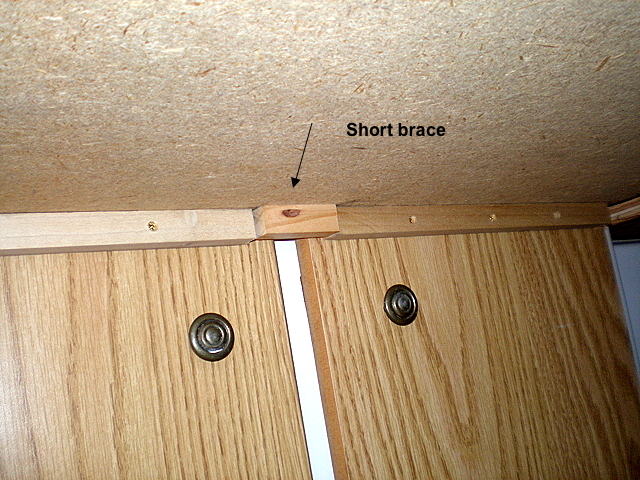
Positioning of the short brace between the two cleats on the cabinet doors.
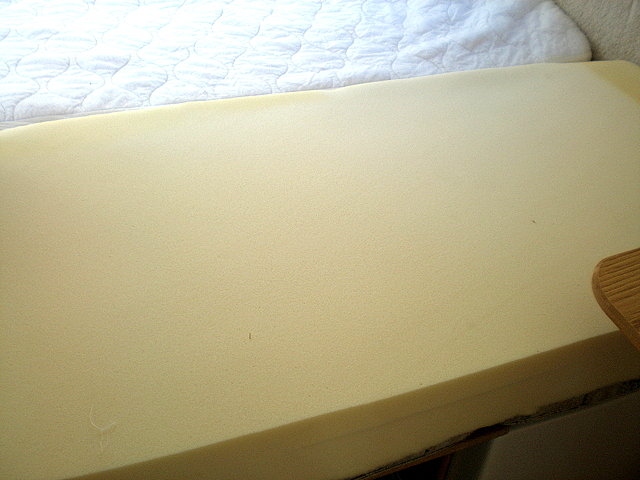
At an upholstery shop we
found a remnant of firm 4" foam. This is the mattress
extension and covers the board and the bench seat.
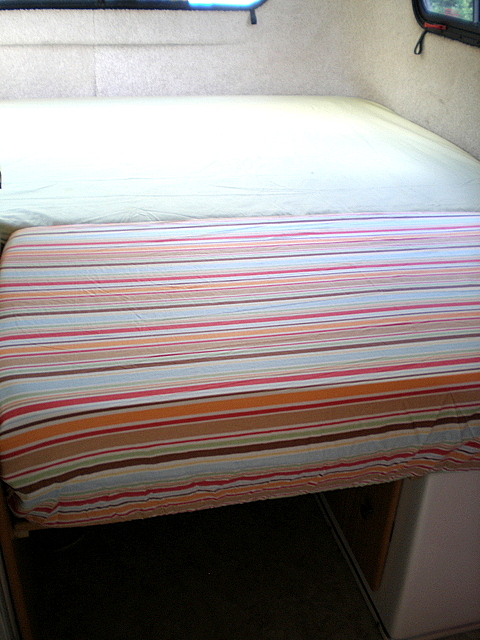
A fitted crib mattress is
the perfect size for the foam extension.
Here we have the completed bed. The full size mattress is laid down the width of the bed and remains there. During the day, the extension board and mattress are stored on the left side of the bed, the area next to the stove. Pillows and comforter are placed under the windows and all of it is them covered with a bed spread, turning the sleeping area into a day bed.
The small foam mattress is placed on top of the bench seat cushions. They stay in place very nicely thanks to the anti-skid strips. We don't notice the 'seam' where the two mattresses meet because most of our bodies are on the main mattress part.
We take down the small dinette table to give us even more space.
I can't remember the dimensions of this new bed layout but it feels like an acre compared to sleeping sideways. No more crawl-overs!